Step-by-Step Guide to Professional Stretch Tent Installation
Planning Before the First Pole Goes Up
Every successful professional stretch tent installation starts long before the fabric is unfolded.
First, assess the site. Is it grass, sand, concrete, or mixed ground? The surface defines your tent anchoring systems. For example, at a seaside wedding in Miami, our team used deep ground stakes because of loose sand and strong wind forecasts. Proper anchoring saved the event when coastal winds picked up in the evening.
Next, check measurements and layout. Good site preparation for tent installation avoids stress later. Mark pole positions. Confirm distances. Think about guest flow and stage placement.
Before starting the stretch tent erection process, make sure you have:
- Correct poles and base plates
- Anchors suitable for the ground type
- Ratchet straps and tensioning equipment
- Safety gloves and helmets
- A clear installation plan
This is the foundation of a smooth outdoor stretch tent setup.
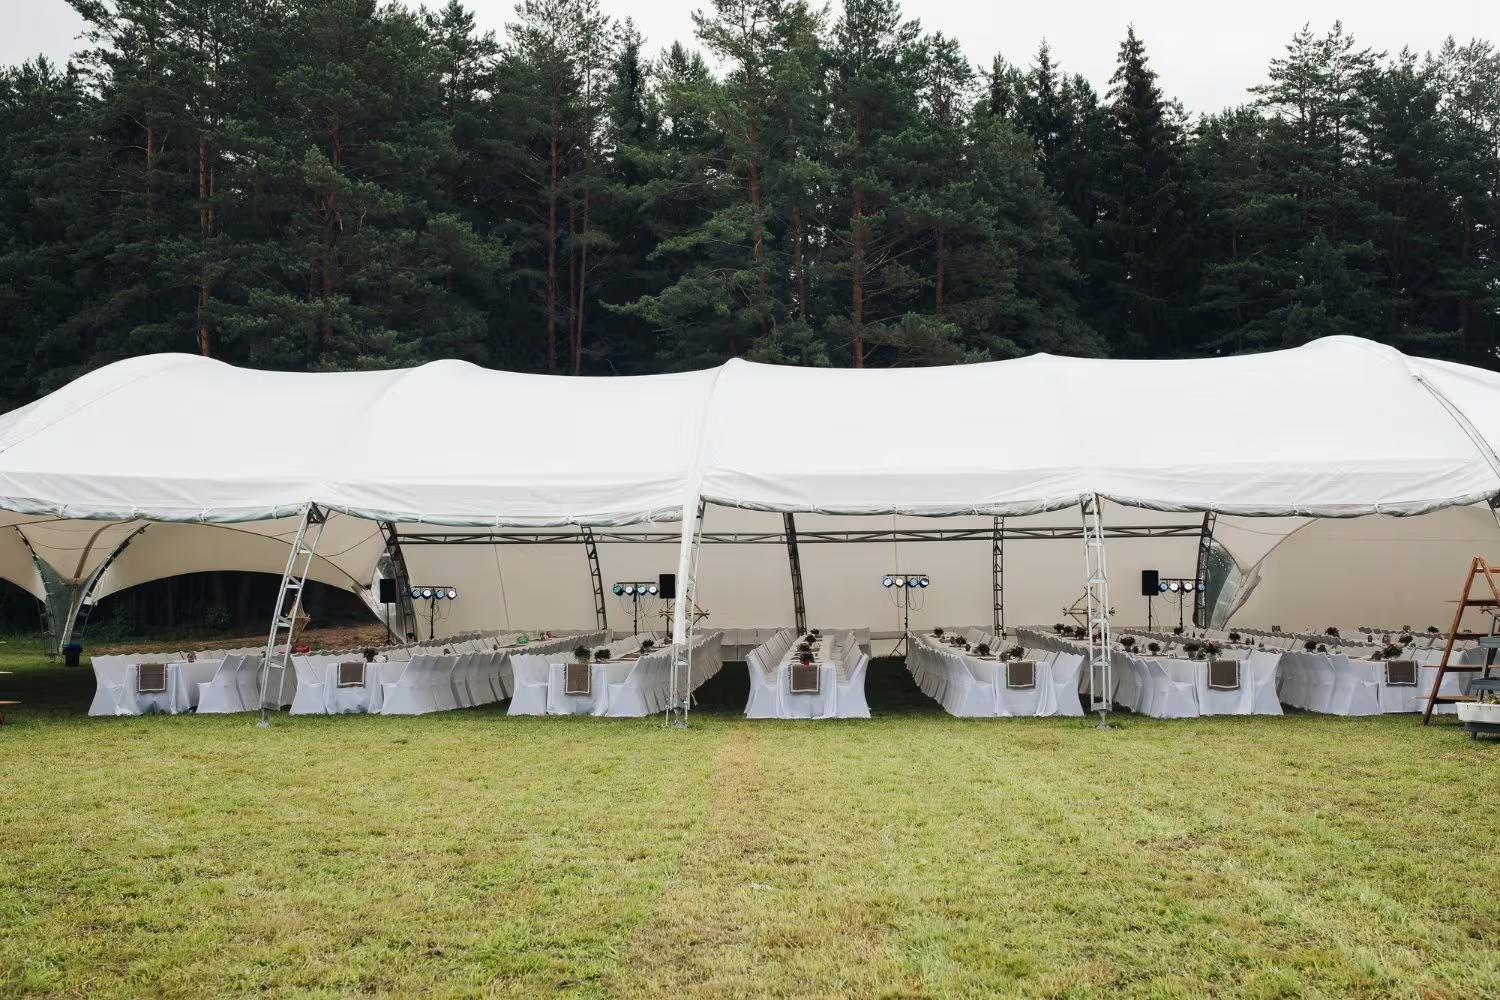
The Step-by-Step Installation Process
Let’s break down the step-by-step stretch tent installation into simple actions.
1. Position and secure anchors
Install ground stakes or ballast weights. Double-check alignment. Strong load distribution and tension begin here.

2. Unfold and position the fabric
Spread the membrane evenly. Avoid dragging it across rough surfaces. Clean fabric ensures longer lifespan.

3. Connect corner points
Attach the tent corners to the anchor points. Do not fully tighten yet. Keep tension moderate.
4. Raise central poles
Lift the highest points first. This defines the structure’s shape. A trained crew understands tent poles and support structure dynamics.
5. Tension gradually and evenly
This step answers the common question: how to install a stretch tent safely. Tighten straps slowly. Move around the structure. Balance the tension across all sides.
6. Final inspection
Check stability. Confirm that straps are secure. Inspect for fabric stress points.
During a corporate festival in Germany, a client first tried to install the tent with an inexperienced crew. The fabric sagged. Water collected after rain. Our team corrected the tension pattern in under an hour. Proper professional stretch tent installation makes all the difference.
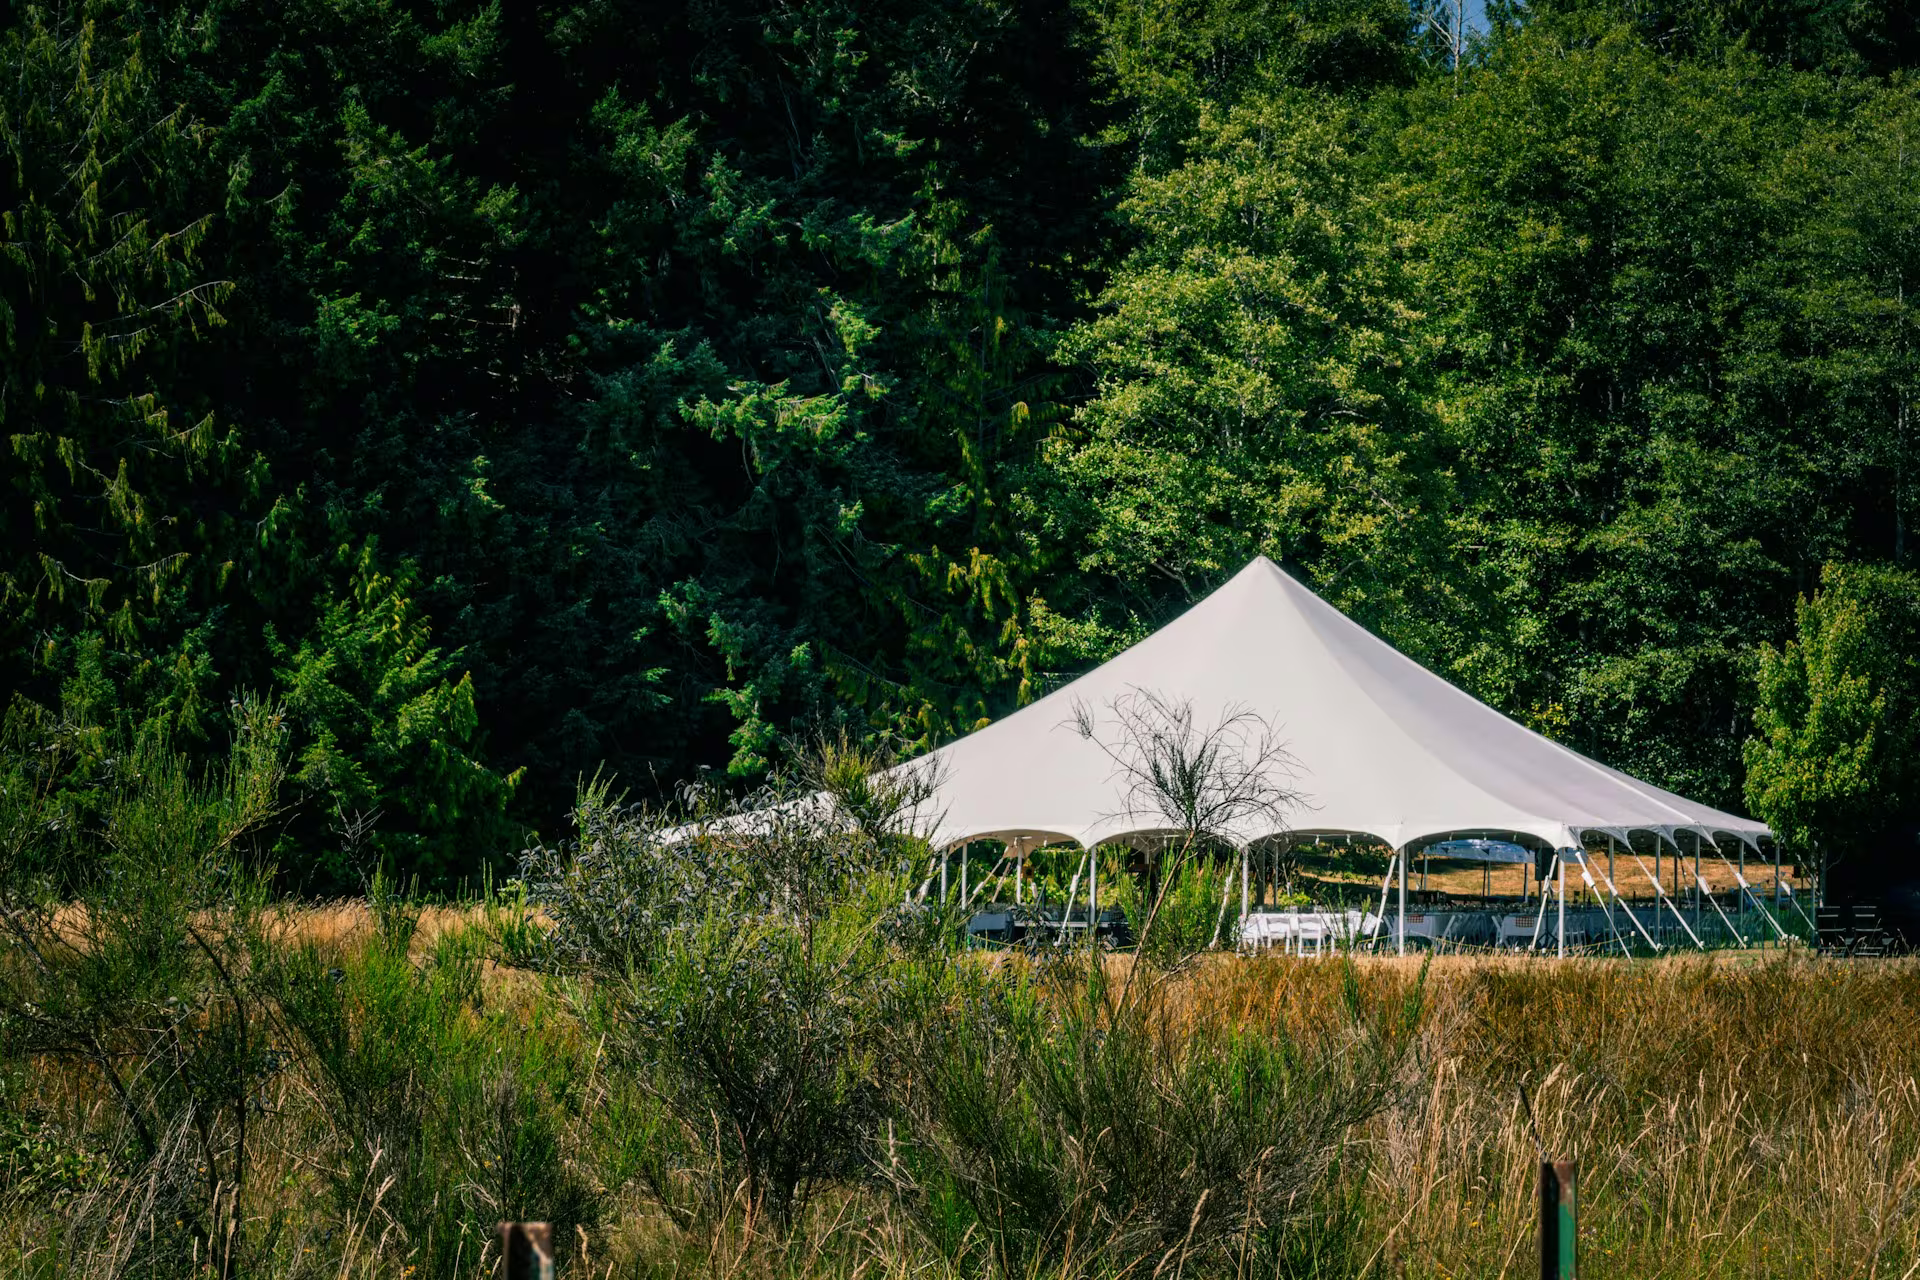
Safety, Weather, and Real-World Challenges
Wind is the main challenge in any outdoor stretch tent setup. Always review weather forecasts. Follow local wind resistance and safety standards. If strong gusts are expected, use reinforced anchoring and lower the profile slightly.
Another key factor is communication. During a mountain event in Switzerland, uneven terrain created height differences. The team adjusted pole lengths and redistributed tension. The result looked intentional and elegant.
If you are wondering how to install a stretch tent, remember this: never rush tensioning. Uneven force can damage fabric or anchors. The real secret behind any solid stretch marquee installation is patience and precision.
Common Mistakes to Avoid
Even experienced teams can slip. Watch out for:
- Ignoring ground conditions
- Over-tightening one side too quickly
- Using the wrong anchors
- Skipping final safety checks
A structured guide prevents these issues. It turns installation into a repeatable system, not guesswork.
A great tent does not just provide shade. It creates an atmosphere. With the right approach, every step-by-step stretch tent installation becomes smooth, safe, and impressive.
FAQ
How long does a stretch tent installation take?
For a medium-sized structure, 3-5 hours with a trained crew. Complex layouts may take longer.
Can one person install a stretch tent?
Small tents, yes. Large structures require a team for safe and balanced tensioning.
What is the biggest safety risk?
Improper anchoring. Secure foundations are critical for any professional installation.
How do I ensure durability?
Follow the correct stretch canopy erection process. Use quality materials. Perform regular inspections.

Next article

Create an Outdoor Space